There are many cache plugins for WordPress, and LiteSpeed Cache is probably the most performant. This plugin only works on web servers that use LiteSpeed. All web hosting and reseller hosting accounts at Host-Age.com benefit from the LiteSpeed web server.
A WordPress website is often slow to load, mainly because of plugins that are not always well optimized. Therefore, the recommendation is to use a cache plugin for WordPress sites.
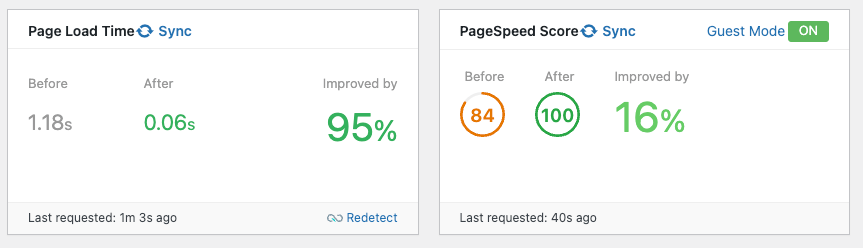
Below we will present what we consider the best settings. For our site, host-age.com, we achieved a substantial loading speed improvement using this plugin, as you can see in the image below. The main page load speed without the plugin is 1.18 seconds, while with the plugin it is only 0.06 seconds. Also, in Google PageSpeed the score without the plugin is 84, and with the plugin enabled, the score is the maximum, 100 points.
Installing LiteSpeed Cache in WordPress
To install the plugin, go to the admin page of your site at www.your-domain.com/wp-admin, then from the left menu choose Plugins and then Add New.
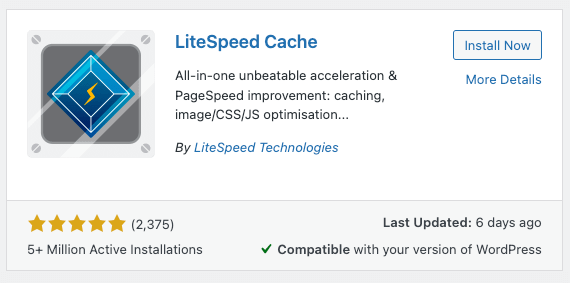
In the top right search field, type Litespeed cache and press Enter. Install and activate the plugin.
Configuring the LiteSpeed Cache Plugin
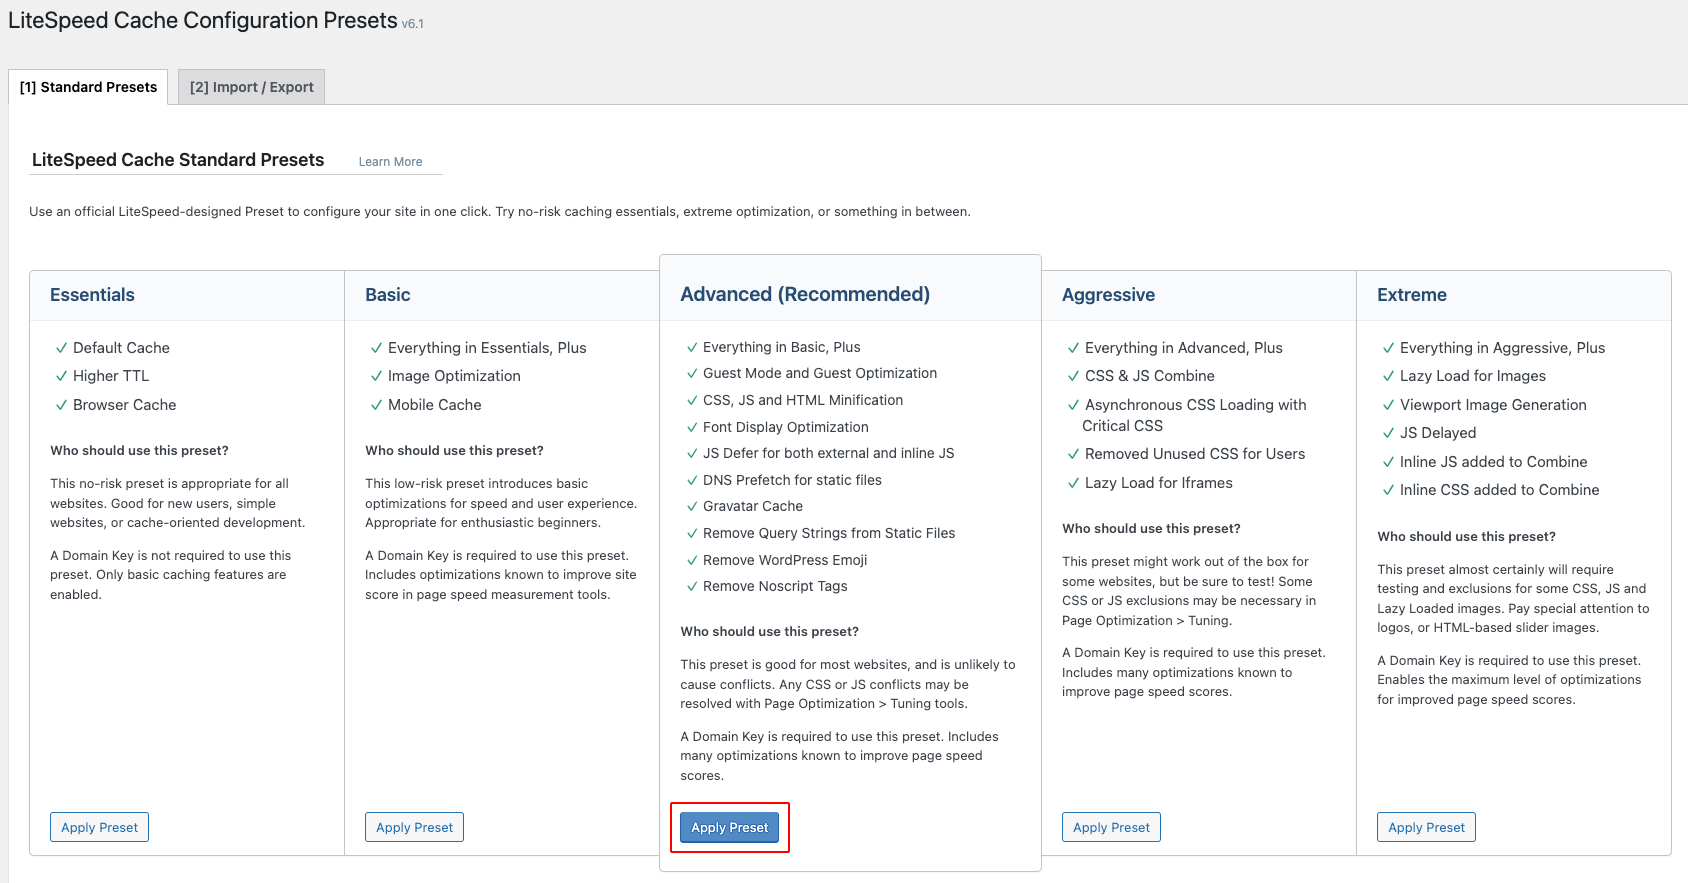
The left menu will now show the LiteSpeed Cache section. Click on the Presets submenu.

We recommend using the Advanced preset. Click Apply Preset.
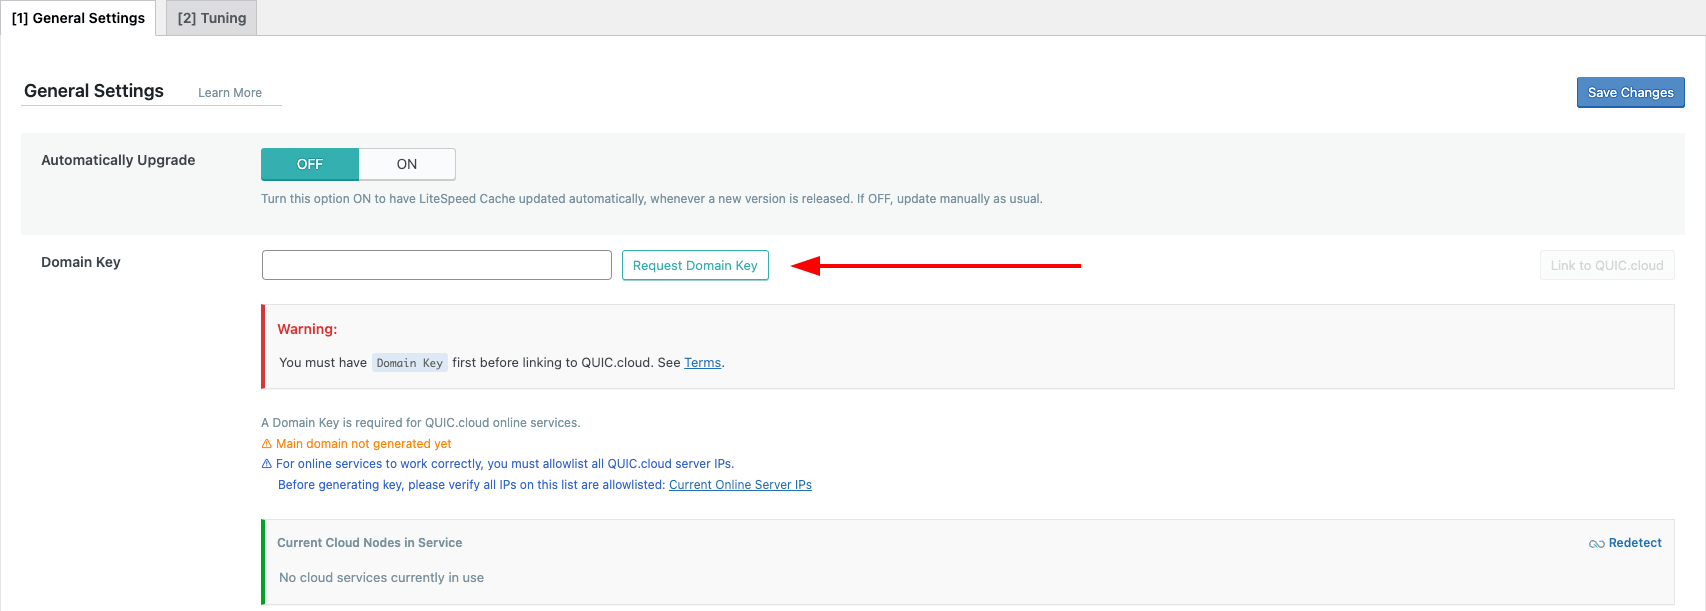
From the menu, choose the General section. We recommend creating an account on quic.cloud to benefit from various optimizations. After creating your account and logging in, return to the plugin page and click the Request Domain Key button. After a short time, a unique key will be generated for your account.
Click the Save Changes button.
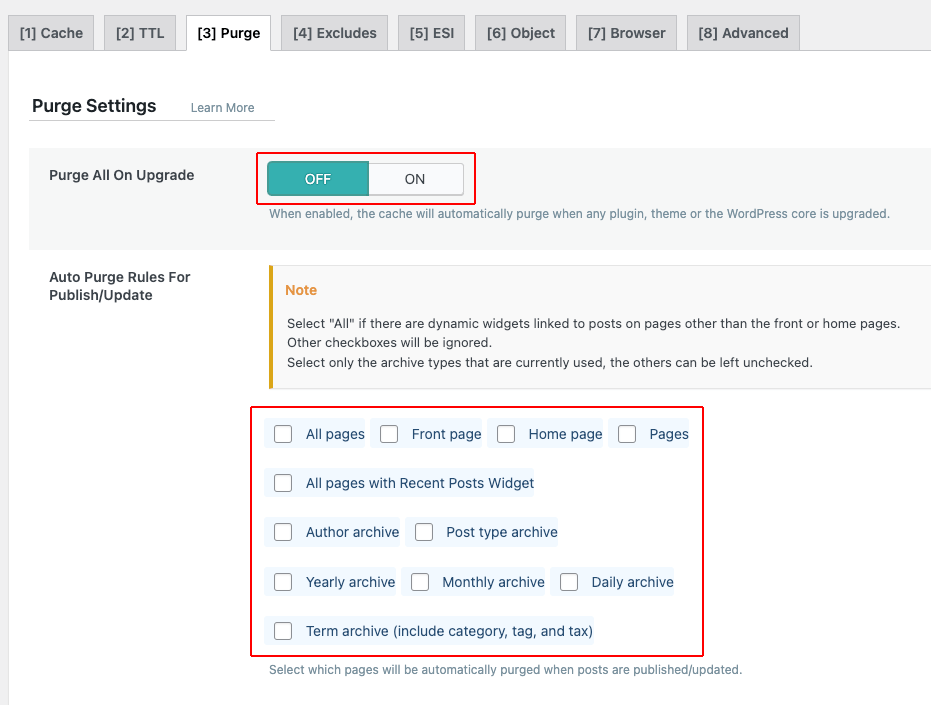
From the menu, choose the Cache section. Now click the [3] Purge tab and set the Purge All On Upgrade option to Off, and uncheck all options under Auto Purge Rules For Publish/Update. You can adjust these options according to your site. If you publish articles daily and they appear on the homepage, check Home page and/or All pages with Recent Posts Widget.
Click the Save Changes button.
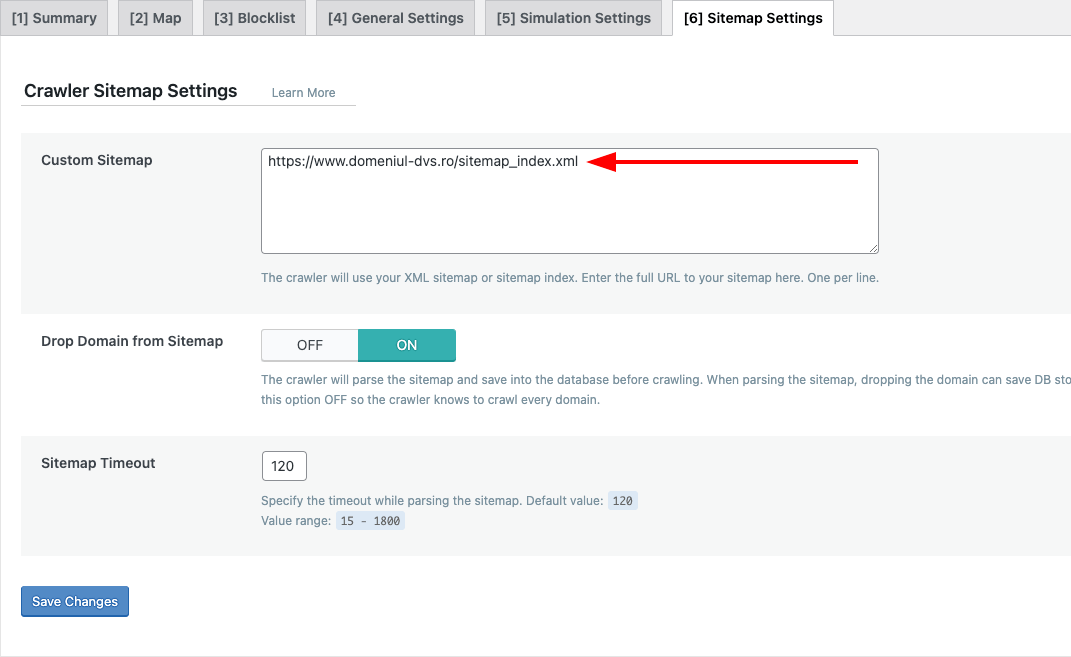
From the menu, choose the Crawler section. Click the [6] Sitemap Settings tab, and in the Custom Sitemap field, enter the address of your site’s sitemap. Usually, this is at www.your-site.com/sitemap.xml, and if you have the very popular Yoast plugin installed, it will automatically redirect to https://www.your-domain.com/sitemap_index.xml. Copy this URL here.
Click the Save Changes button.
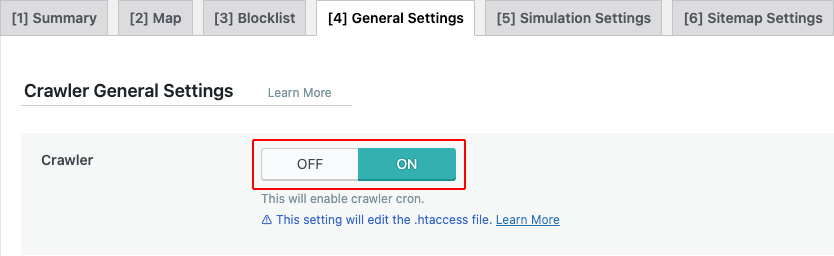
Click the [4] General Settings tab and turn the Crawler option On.
Click the Save Changes button.
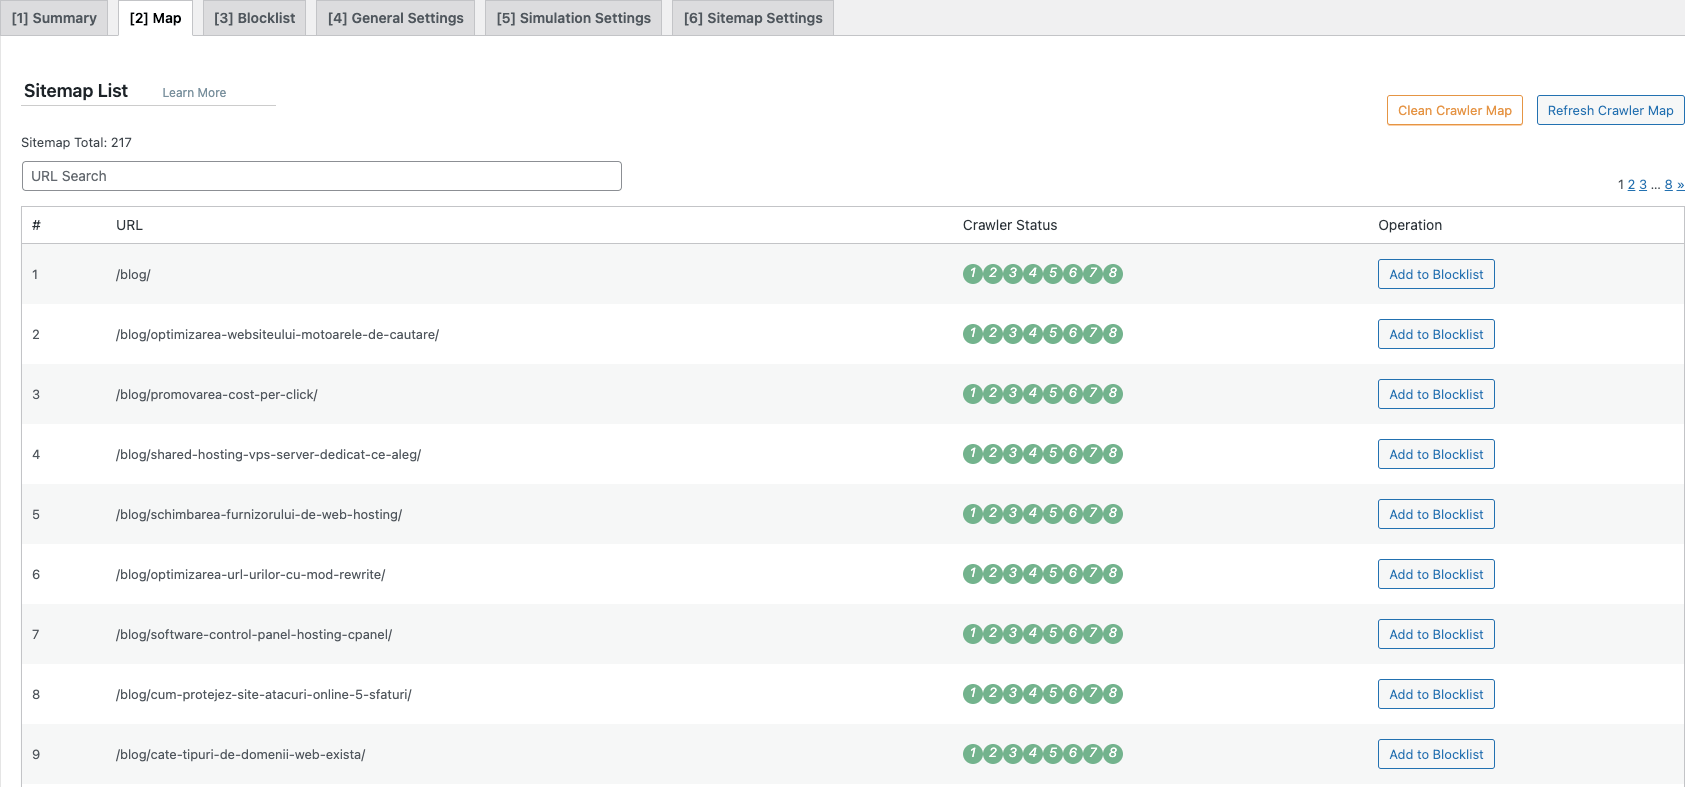
Click the [2] Map tab and press the Refresh Crawler Map button to import the list of pages from the site.

After the sitemap is imported, the page will look like the image below.
Click the [1] Summary tab. To start cache generation, press the [R] Manually run button.
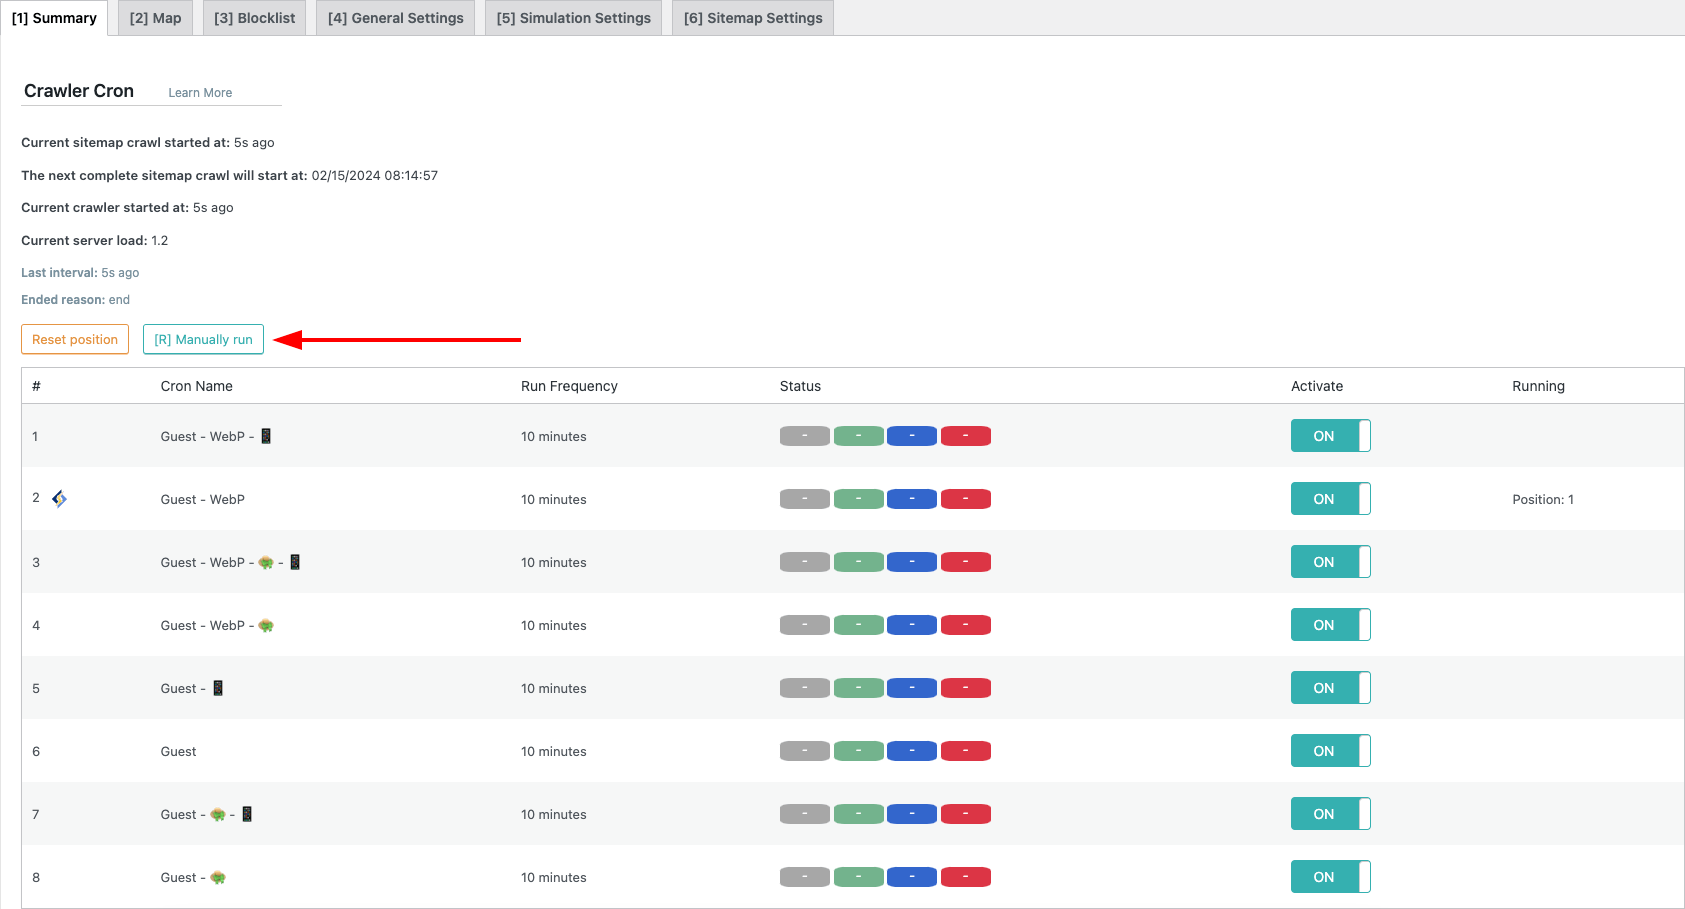
You can see the cache generation status by clicking the Show crawler status button at the bottom of the page.
The time it takes to generate the cache for the entire site depends on the number of pages and the resources allocated to your hosting account.
After generating all cache files, your site should load much faster.